How to Equip Weapons in Evil Crawling Things
Set up your hotbar in the lobby so you can reach the right weapon or supply during a round. Use the Firing Range to practice switching and reloading between rounds.
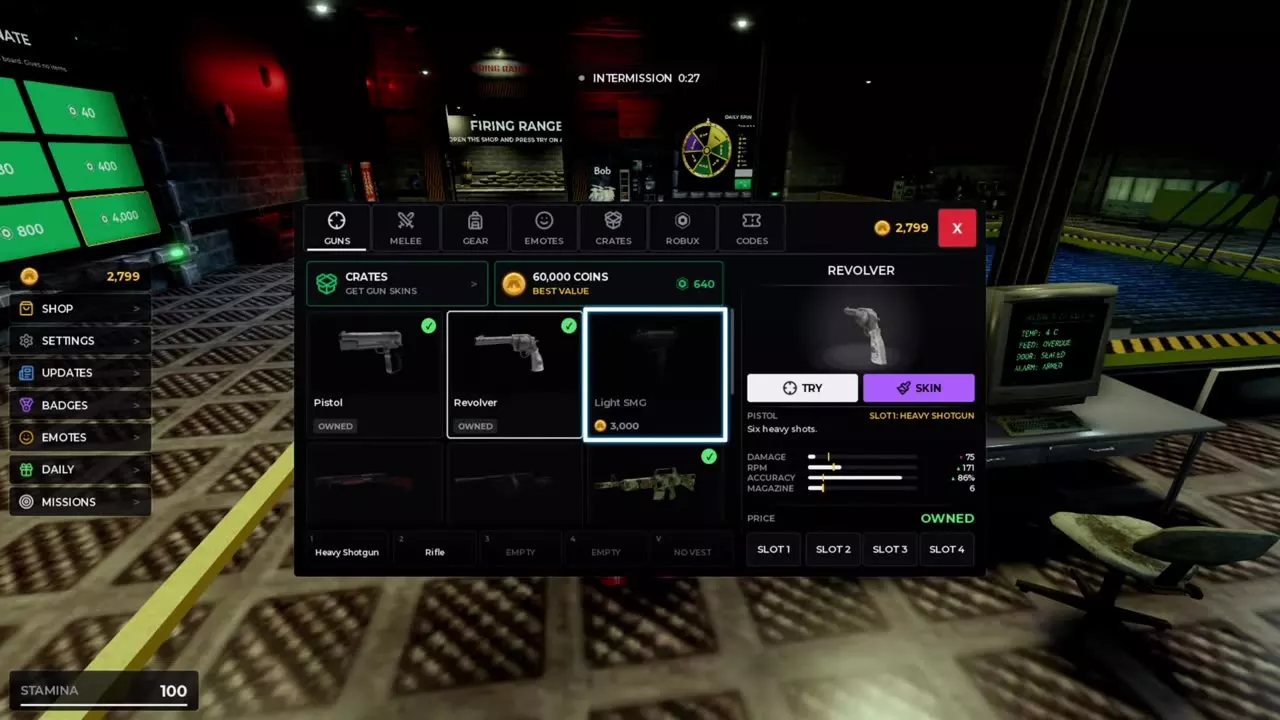
Open SHOP, select an owned item under GUNS, MELEE, or GEAR, and choose a numbered slot. Moving an item clears its old slot and replaces whatever was in the destination. Select a hotbar slot to switch items during HIDE or SURVIVE. Press R on keyboard to reload from reserve ammo. To test a gun, find the Firing Range near Daily Spin and select TRY on its GUNS panel.
Owned items and available slots
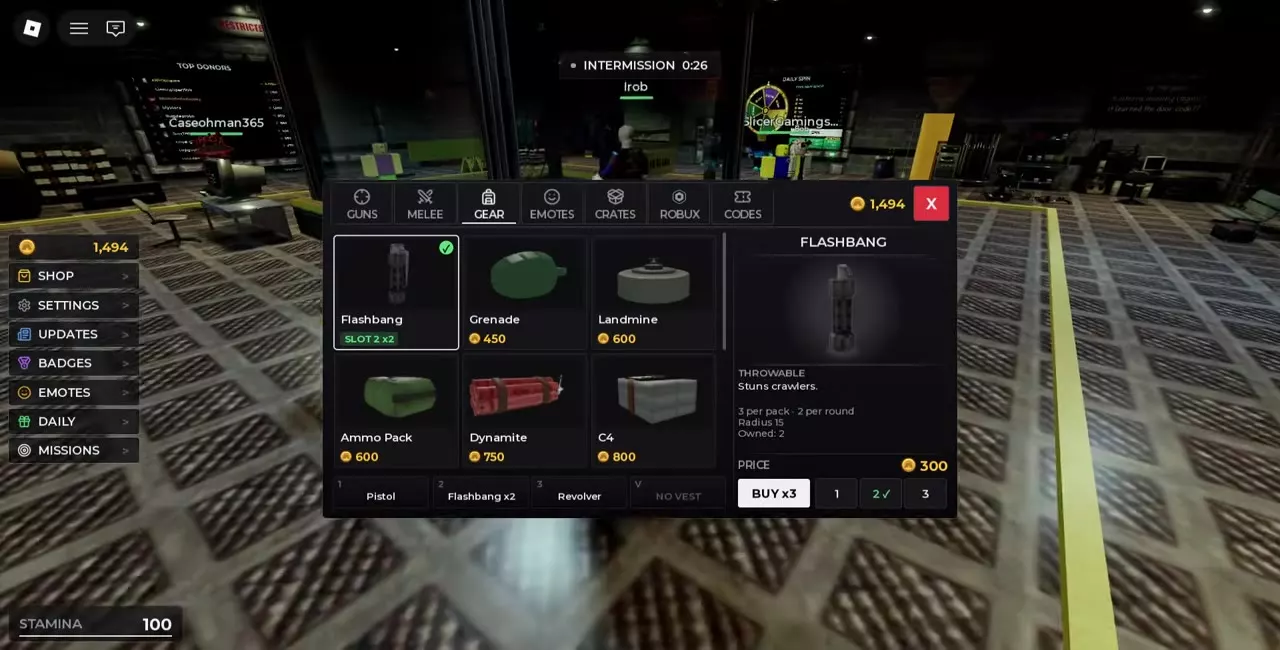
Open SHOP from the lobby sidebar. Owned guns, melee weapons, and compatible gear such as Flashbang share the same numbered hotbar. A three-slot layout offers SLOT 1 through SLOT 3. With a four-slot layout, the GUNS panel also offers SLOT 4. A panel label such as SLOT 1: PISTOL identifies the item already in that slot.
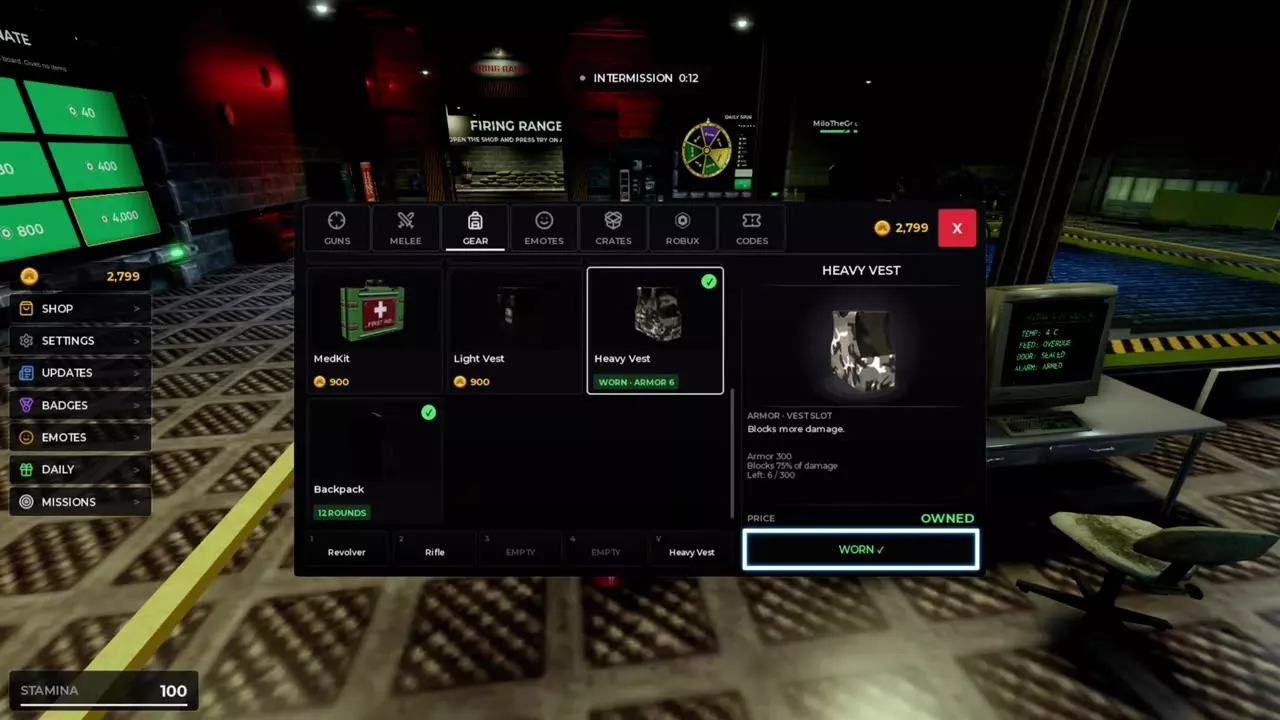
Armor has a separate VEST SLOT. To equip an owned Heavy Vest, select it under GEAR and choose WEAR. Look for WORN on the panel and Heavy Vest in the vest slot. This leaves your numbered slots available for weapons and supplies.
Loaded ammo, reserve ammo and reloading
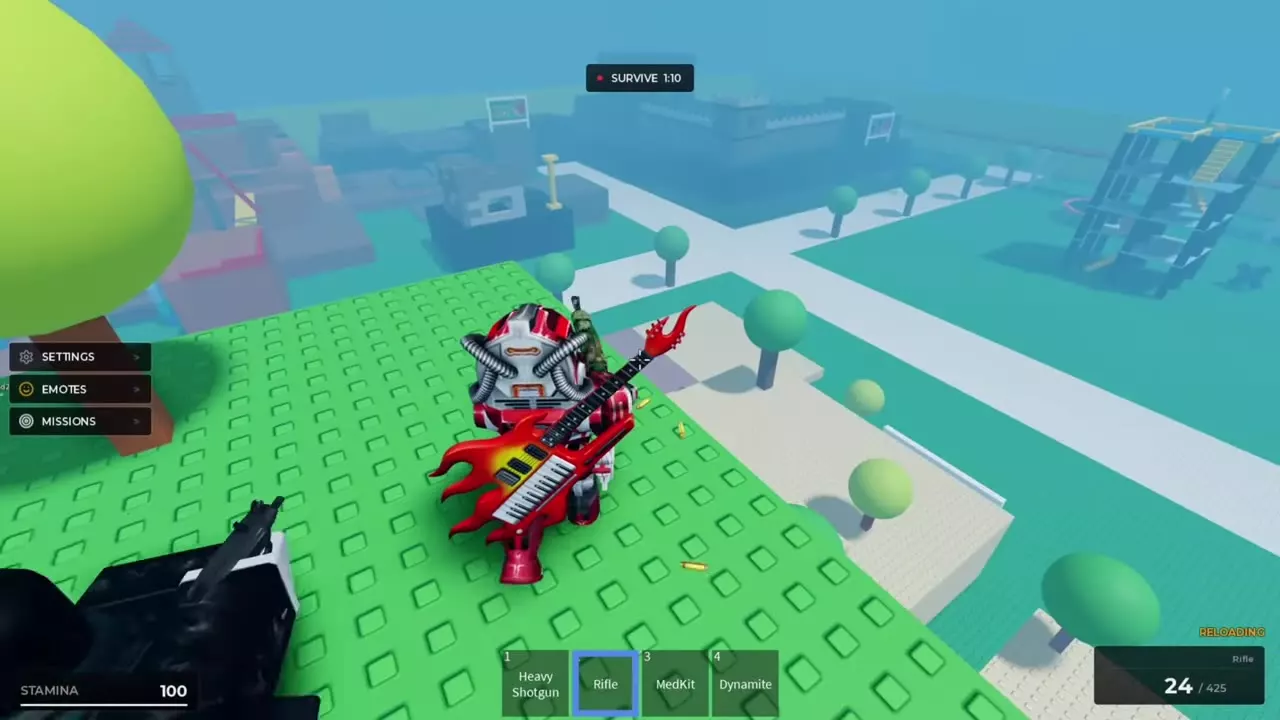
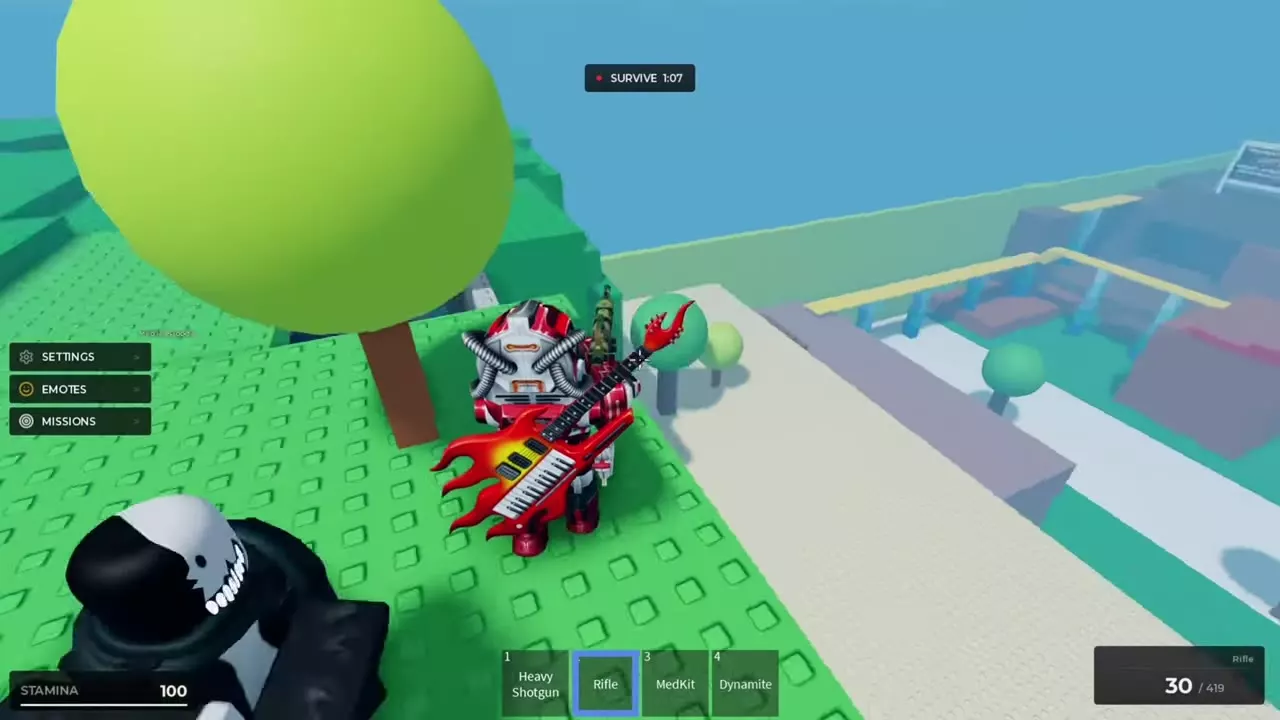
The first number in the lower-right ammo counter is what's loaded in the gun. The second is your reserve. Firing reduces the loaded count. Press R on keyboard to reload when the gun has room and you have ammo in reserve. You can top up before the gun is empty. An empty gun can also begin reloading, and RELOADING marks the reload in progress.
When the reload finishes, the reserve drops by the amount added to the gun. With enough ammo in reserve, the gun returns to full capacity.
| Gun | Before | After | Ammo transferred |
|---|---|---|---|
| Rifle | 24 / 425 | 30 / 419 | 6 rounds |
| Heavy Shotgun | 3 / 87 | 6 / 84 | 3 shells |
A full Pistol holds 17 rounds, a Revolver holds 6, and a Light SMG or Rifle holds 30. Light Shotgun and Heavy Shotgun each hold 6 shells. Use the loaded count to decide whether to top up while you have room to do it. For more weapon stats, see the gun prices and stats directory.
Assign, replace and move equipment
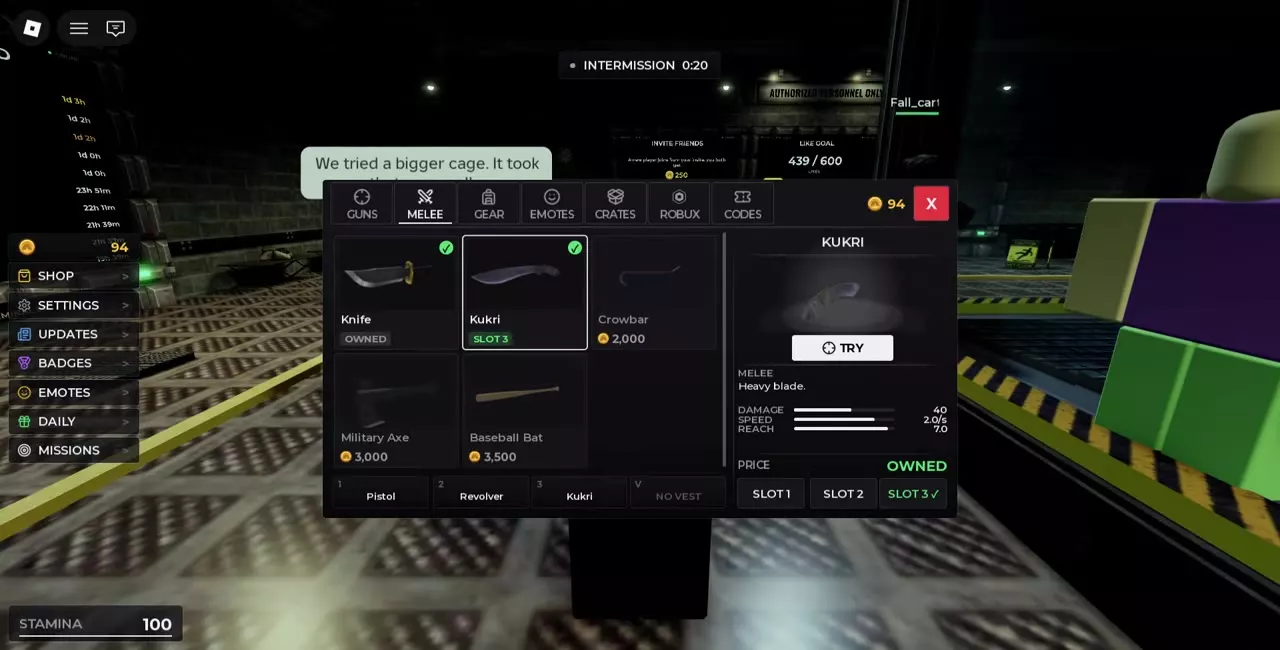
- Open SHOP and choose GUNS for a firearm, MELEE for a blade, or GEAR for a supply such as Flashbang.
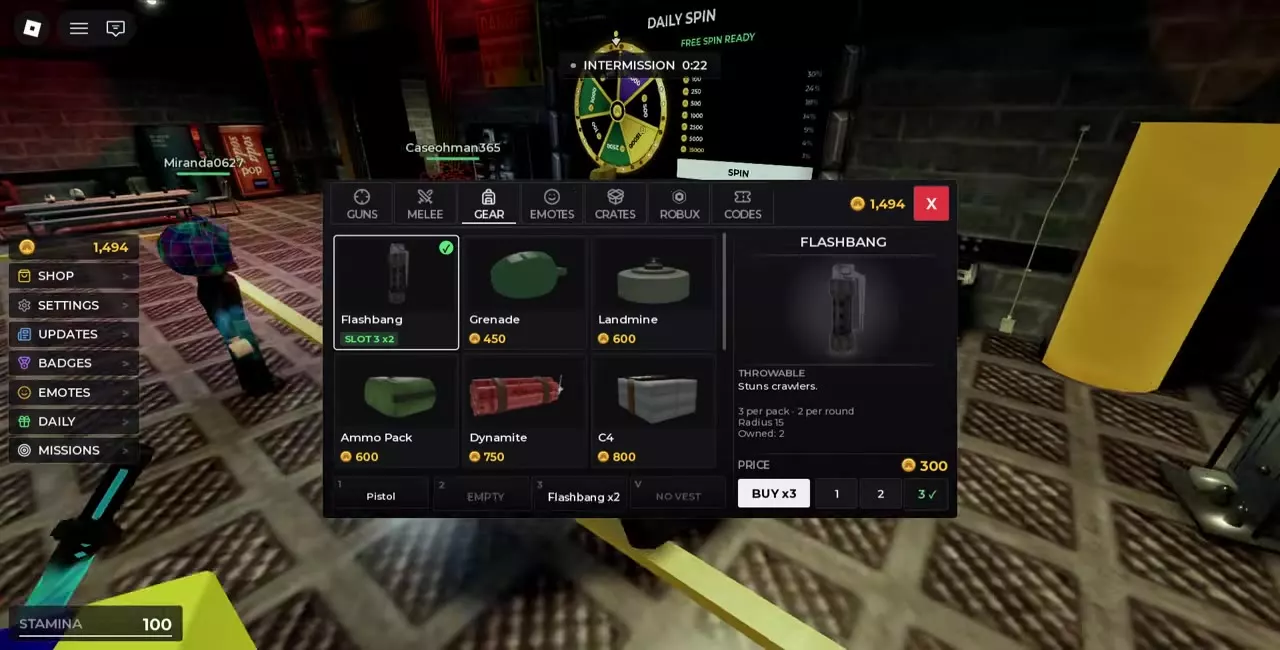
- Select the owned item and choose its destination slot on the item panel.
- Check the bottom bar. If you moved the item from another slot, its old slot is now empty. If the destination was occupied, its old item is displaced. Assign that item to another slot if you want to keep it equipped.
For example, with Pistol in slot 1, Flashbang ×2 in slot 2, and Revolver in slot 3, assigning Flashbang to slot 3 leaves Pistol in place, empties slot 2, and takes Revolver off the hotbar.
To reverse the order of two equipped items, make both assignments. If Kukri is in slot 2 and Revolver is in slot 3, put Revolver in slot 2 first. That displaces Kukri and frees slot 3. Then select Kukri under MELEE and assign it to slot 3. With Pistol in slot 1, the final order is Pistol, Revolver, Kukri.
Switch items during HIDE and SURVIVE
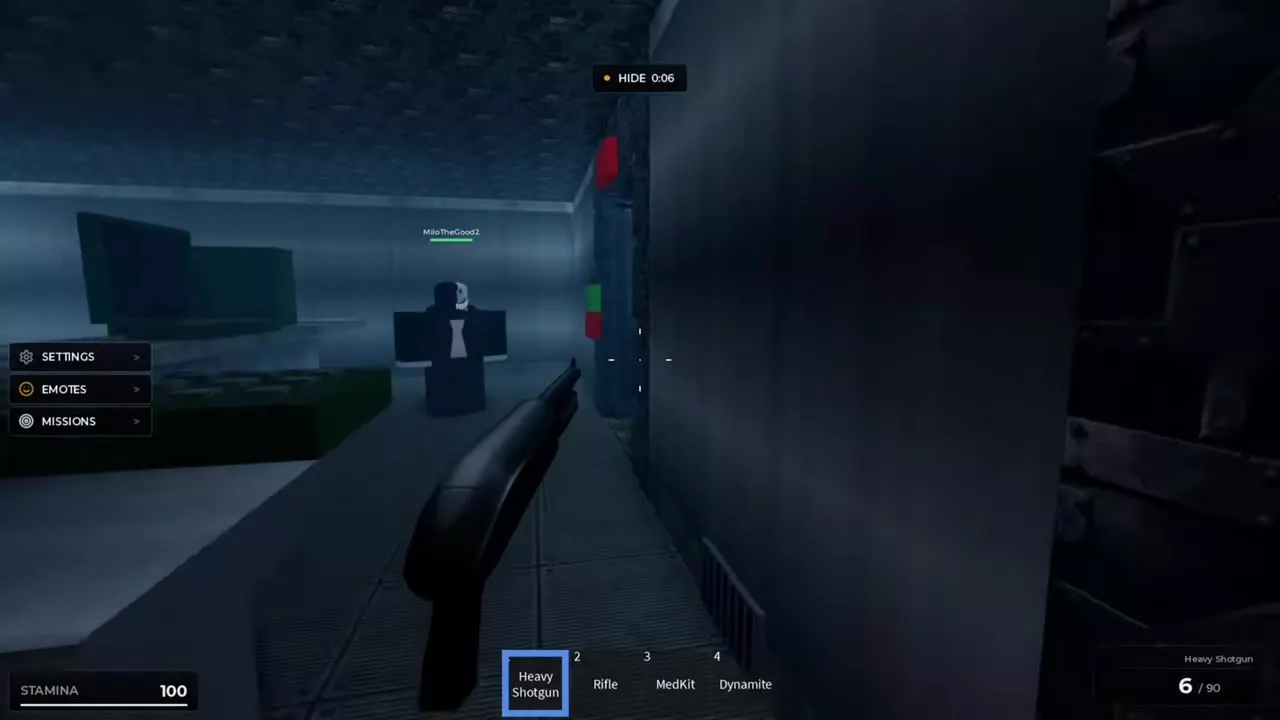
Select the numbered hotbar slot for the item you want to hold. The slot highlights, your held item changes, and the lower-right display updates to the selected gun's ammo or the gear's remaining uses. The other items stay in their assigned slots.
- During HIDE, draw the weapon you want ready first. For example, with Dynamite in slot 4 and Heavy Shotgun in slot 1 on Area 51, select slot 4 to check your Dynamite count, then draw the shotgun before entering the passage.
- During SURVIVE, switch to a loaded backup if a Crawler closes in while your current gun shows RELOADING. When you switch back, read the loaded count before firing.
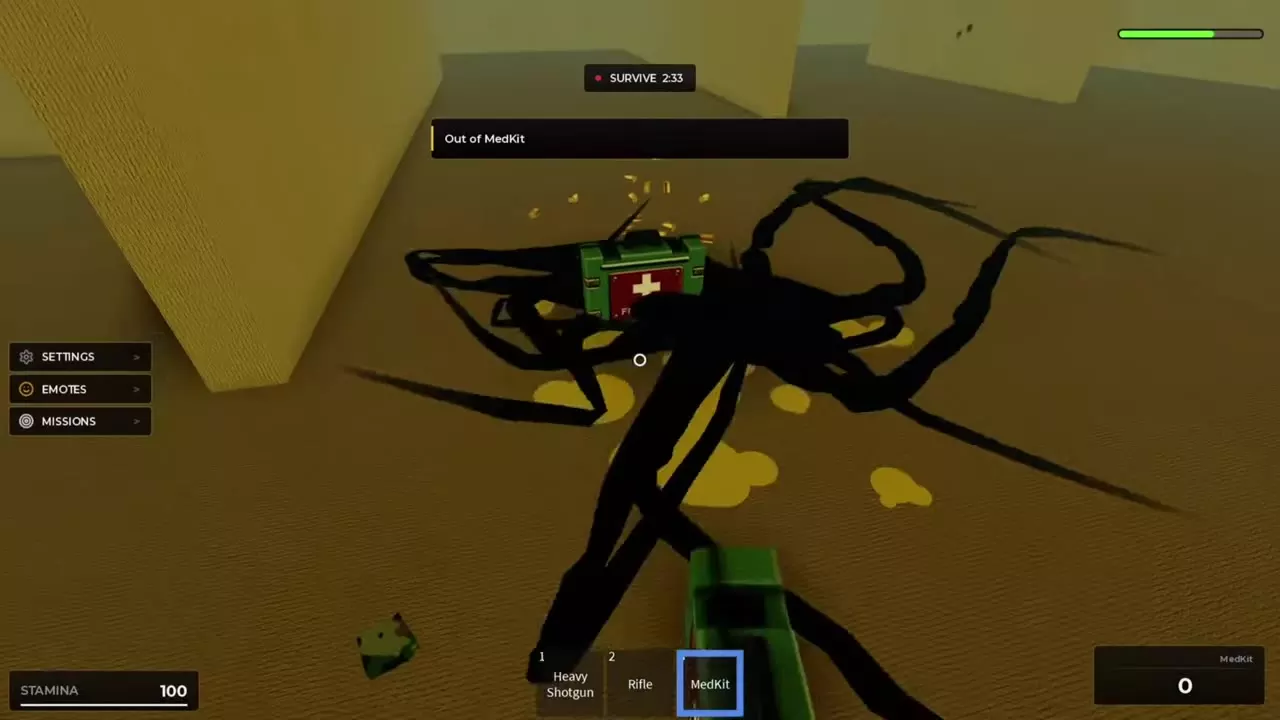
- If you see Out of MedKit or Out of Dynamite, switch to an item you still have available. In the Backrooms, for example, a hotbar with Heavy Shotgun in slot 1 and an empty MedKit in slot 3 lets you return to the shotgun immediately.
Try guns at the Firing Range
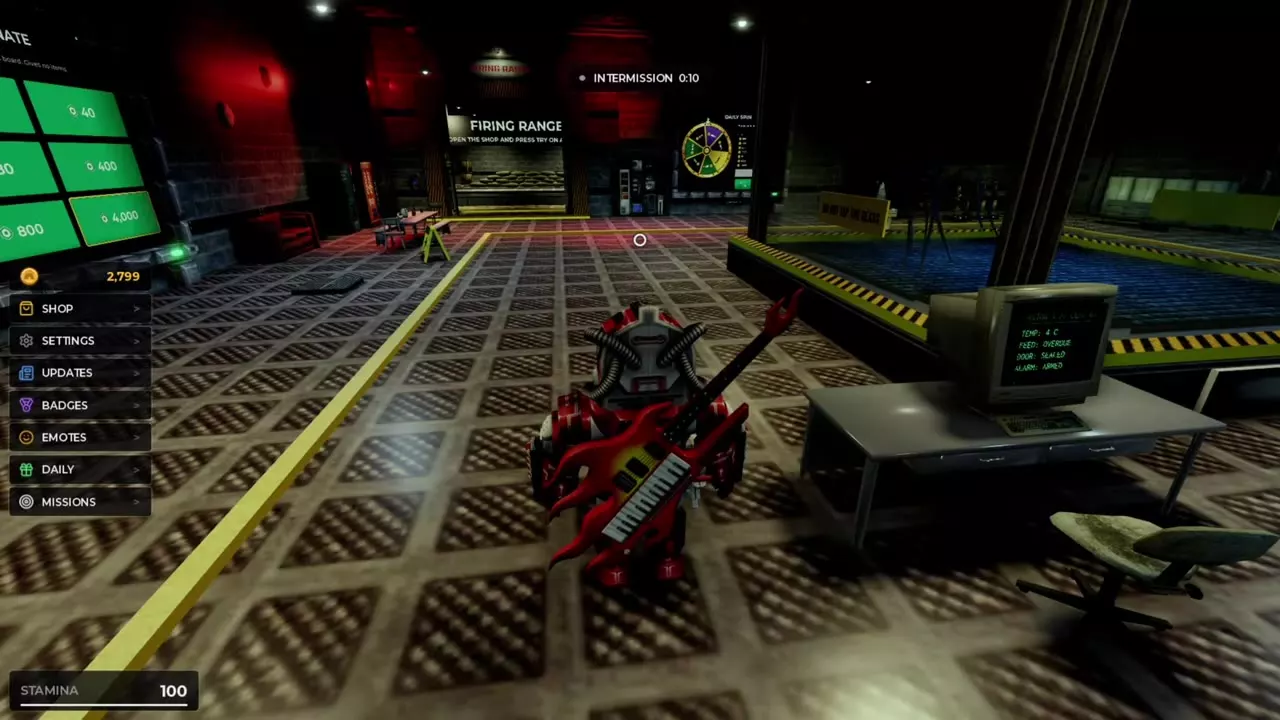
- In the lobby, look for the FIRING RANGE sign by the Daily Spin wheel. The range entrance has yellow-and-black floor stripes.
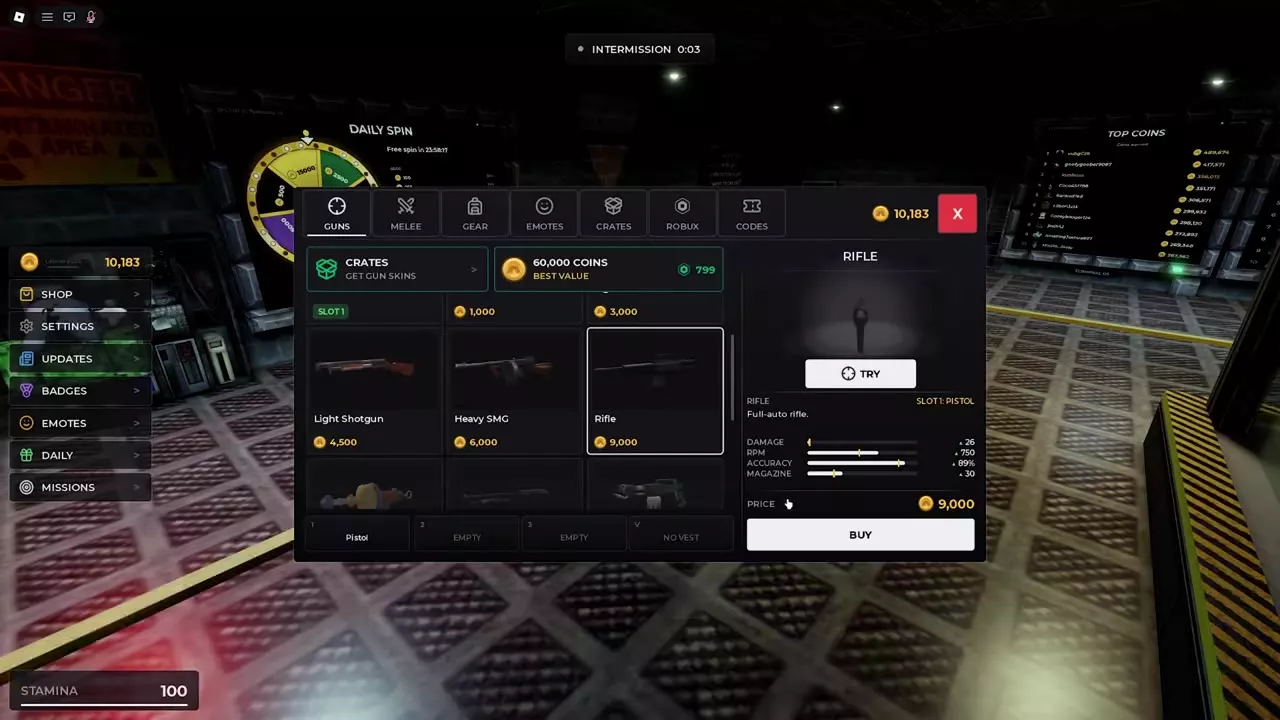
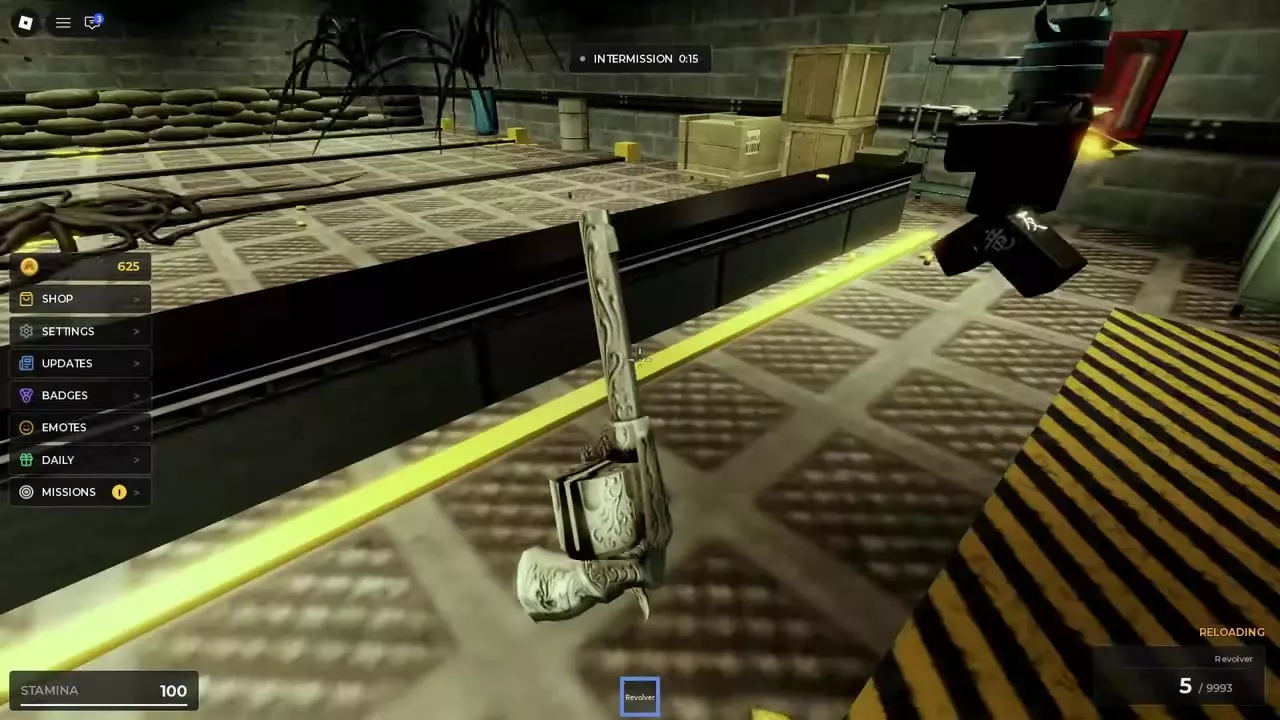
- Open SHOP → GUNS, select a firearm, and press TRY. The Rifle panel offers TRY before purchase, and an owned Revolver also has the button.
- Aim at a target and fire. Watch how quickly the loaded count drops, then reload. The six-round Revolver opens its cylinder while reloading, so you can see when the gun is still busy.
- If Pistol and Revolver are both in your hotbar, switch between them and repeat the drill. Compare how long each load lasts at your firing pace and how each gun feels to reload.
If Pistol is already equipped, walk straight into the range and select it from the hotbar. You can keep practicing while the map vote cards are up, until the next map starts loading.
Choose equipment for the next round
- Match your weapons to your budget, engagement distance, and available slots with the gun choices and loadouts guide.
- If you're saving a slot for a consumable or wearing armor, check supply effects and vest controls for gear uses and armor replacement.
- Look up the full keyboard bindings, device prompts, and Reset Keys in controls and settings.