Evil Crawling Things Loadouts and Gun Choices
Build your loadout around where you’ll fight and what you’ll switch to when a Crawler closes in. Check your Coins and numbered hotbar slots before buying a second gun or filling a slot with gear.
Start with the free Pistol and the 1,000-Coin Revolver. Use your third slot for Knife or Kukri if you want melee, or Flashbang if you want a stun. Spend 3,000 Coins on Light SMG for sustained fire, or 9,000 on Rifle for long sightlines. Pair either with a six-shell shotgun for close approaches. Carry MedKit if you need healing, and add Dynamite if you already have a fourth slot.
Choose weapons for two parts of the fight
Pick one gun for the opening shots and a second for when the Crawler gets close or your first gun runs dry.
- Starter budget. Use Revolver when you have a clear shot and want more damage per hit. Keep Pistol ready for a longer string of follow-up shots. If you have zero Coins to spend, start with Pistol alone.
- Sustained fire on a budget. Pick Light SMG at 3,000 Coins to cover a corridor with a 30-round magazine. Keep a loaded sidearm or shotgun available so you can switch when the magazine empties.
- Long sightlines. Pick Rifle for rooftops, towers, open ground, or long corridors. Keep a shotgun ready if the Crawler reaches your doorway or stairs.
- Control or recovery. Take Flashbang to stun a Crawler and make room to move. Take MedKit if you need to recover health between engagements.
Set a budget and count your available slots
Count the numbered slots on your hotbar and use the columns below to place the items you own. The starter setups fit three slots, and the total includes the free Pistol.
| Slot 1 | Slot 2 | Slot 3 | Total cost |
|---|---|---|---|
| Pistol | Revolver | Knife | 1,500 Coins |
| Pistol | Revolver | Kukri | 2,500 Coins |
| Pistol | Flashbang | Revolver | 1,300 Coins |
One Flashbang pack costs 300 Coins and contains three. You can use up to two Flashbangs per round.
Healing, explosives and a fourth slot
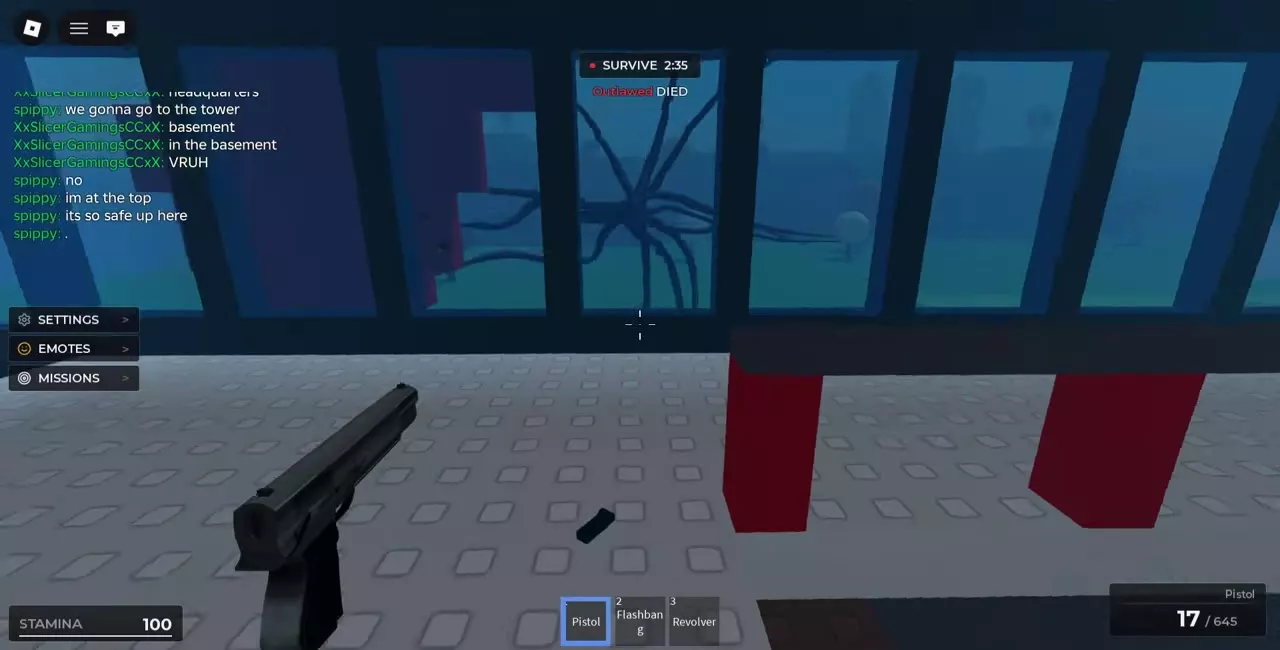
With three slots, keep two guns and give the third slot to the gear you expect to use. For a setup with healing, put Heavy Shotgun in slot 1, Rifle in slot 2, and MedKit in slot 3. If you already have a fourth numbered slot, add Dynamite there to carry an explosive alongside all three.
MedKit costs 900 Coins in GEAR. When you’re injured and have space to heal, select and use it, then watch your health bar rise and your kit count drop by one. Dynamite costs 750 Coins. Switch back to a loaded gun when you see Out of Dynamite. For more on item counts and use, see supplies and vest controls.
If you prefer opening with heavy single shots, put Revolver in slot 1 and Rifle in slot 2. Use the Revolver’s six shots when you have a clear target, then switch to the Rifle’s 30-round automatic fire if the Crawler keeps coming.
Pistol and Revolver starter loadouts
| Gun | Cost | Damage per shot | Fire rate | Capacity |
|---|---|---|---|---|
| Pistol | Free | 20 | 400 RPM | 17 rounds |
| Revolver | 1,000 Coins | 75 | 171 RPM | 6 rounds |
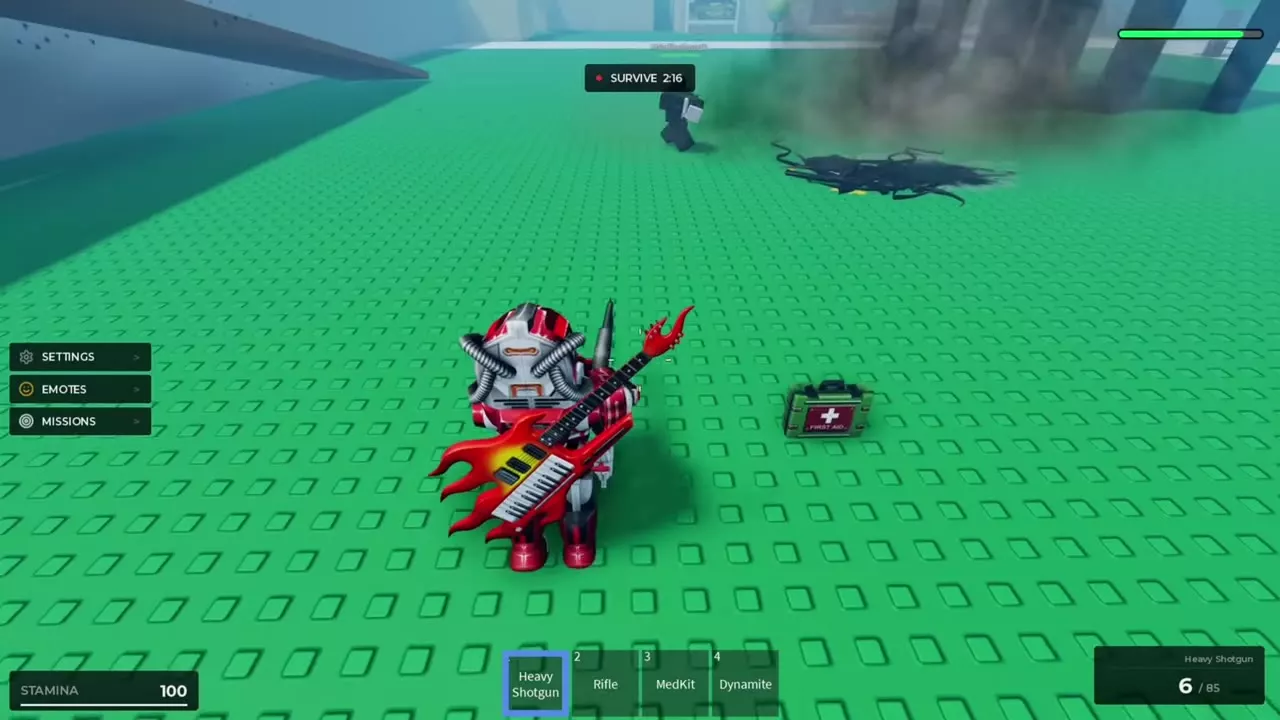
Use Revolver to take deliberate shots through a clear doorway or window. Top up its six-round cylinder during a lull. Use Pistol when you need faster follow-up shots or more rounds before reloading. If one gun runs empty while a Crawler is advancing, draw the loaded one and back away. Reload once you have space.
- Knife costs 500 Coins and gives you faster melee swings at 2.5 per second, with 25 damage per hit and 6.0 Reach. Choose it if you want a low-cost melee fallback.
- Kukri costs 1,500 Coins. The extra 1,000 Coins buys 40 damage per hit and 7.0 Reach, with a slower rate of 2.0 swings per second. At the listed swing rates, if every swing connects, Kukri deals 80 damage per second and Knife deals 62.5.
- Flashbang is the choice when you want space to retreat. Throw it when a Crawler is within its stun area. It briefly stuns Crawlers within a radius of 15. If your count reaches zero or you see Out of Flashbang, switch back to a gun.
Light SMG, Heavy SMG and Rifle budgets
| Gun | Cost | Damage per shot | Fire rate | Accuracy | Capacity |
|---|---|---|---|---|---|
| Light SMG | 3,000 Coins | 18 | 800 RPM | 80% | 30 rounds |
| Rifle | 9,000 Coins | 26 | 750 RPM | 89% | 30 rounds |
Light SMG vs. Heavy SMG. Choose Light SMG if you want rapid fire and a 30-round magazine for 3,000 Coins. The Heavy SMG costs 6,000 Coins, so budget an extra 3,000 Coins if you’re saving for it.
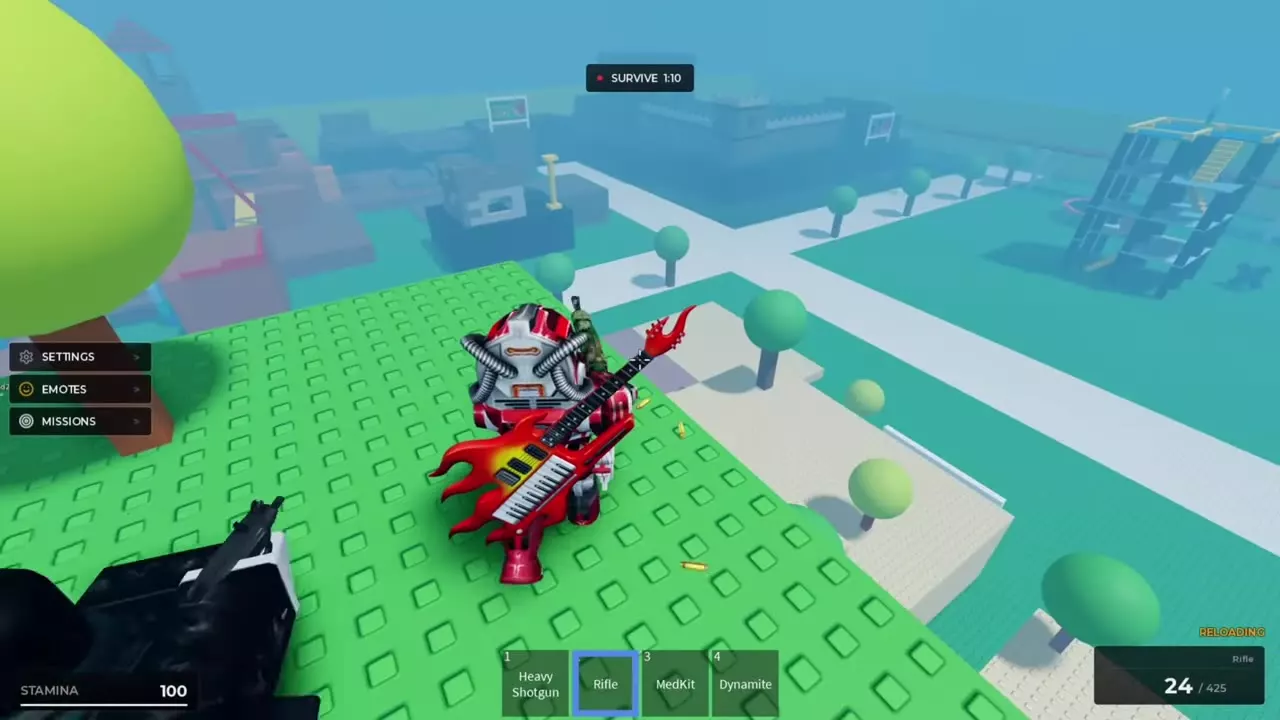
Light SMG vs. Rifle. Light SMG fires 50 rounds per minute faster and costs 6,000 Coins less. The full-auto Rifle deals 8 more damage per shot and has 9 percentage points more accuracy, with the same magazine capacity. Choose Rifle when you expect clear shots from a rooftop or down a long corridor. Use breaks in contact to refill its magazine.
Shotguns for doors and stairs
Both shotguns hold six shells and can be topped up before they run empty. Use a lull to refill them before the next close approach.
- Light SMG + Light Shotgun. The Light Shotgun costs 4,500 Coins, bringing the pair to 7,500 Coins. Open with Light SMG while you have a clear stretch of corridor, then draw Light Shotgun if a Crawler closes in at the door. If the shotgun runs dry, fall back and switch to Light SMG if it still has rounds.
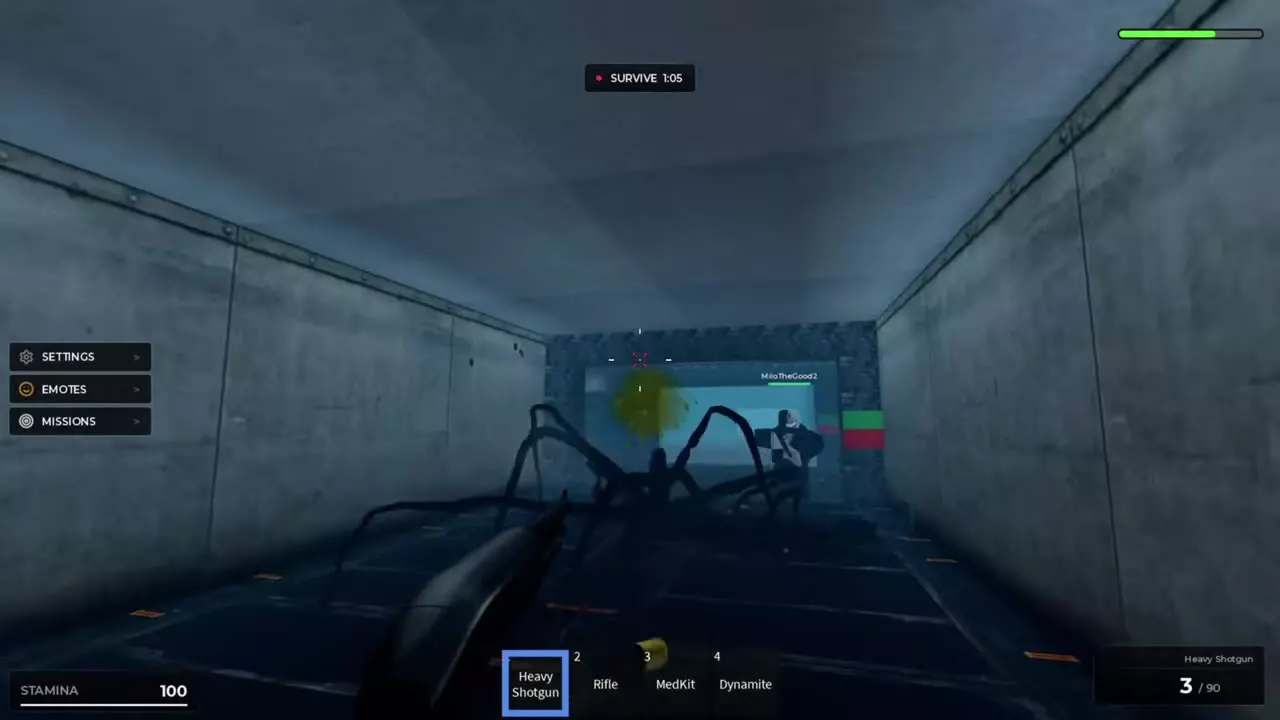
- Rifle + Heavy Shotgun. Open with Rifle across open ground or down a long corridor. Switch to Heavy Shotgun when the Crawler reaches the doorway or stairs, or if Rifle empties as the Crawler closes in. Back away as you fire. When the shotgun runs dry, use the loaded Rifle if it’s ready or make space to reload.
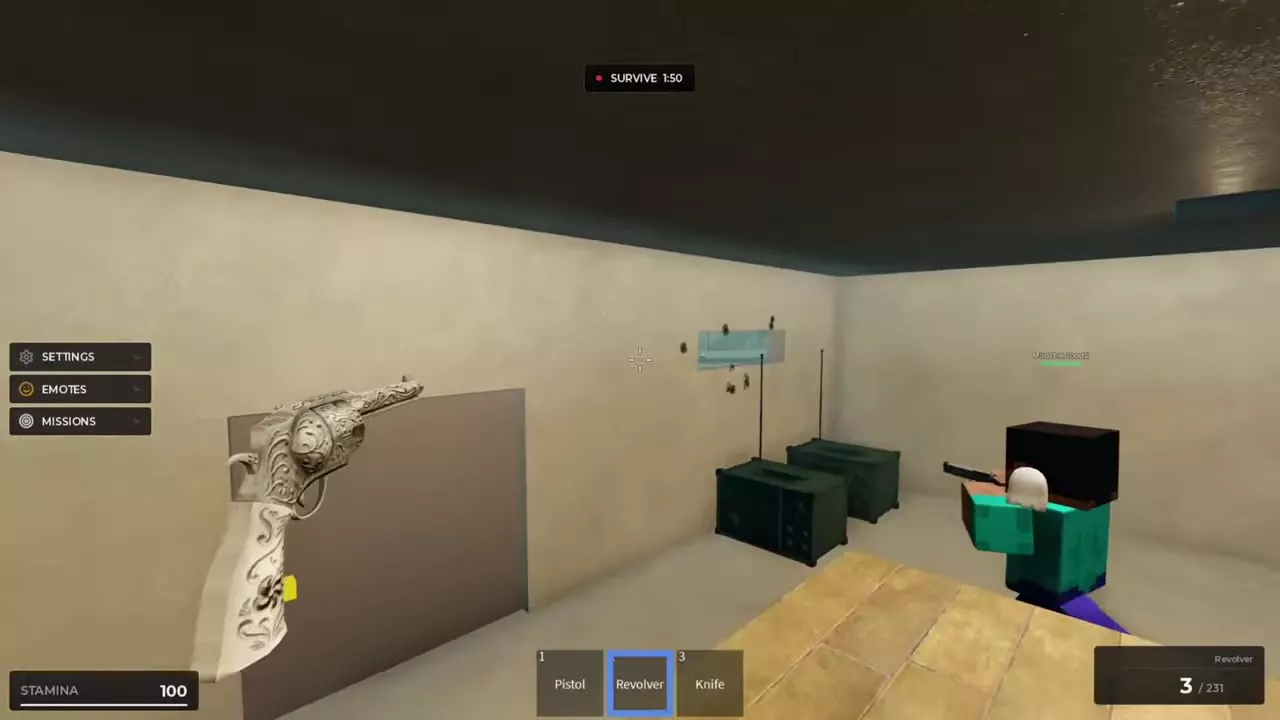
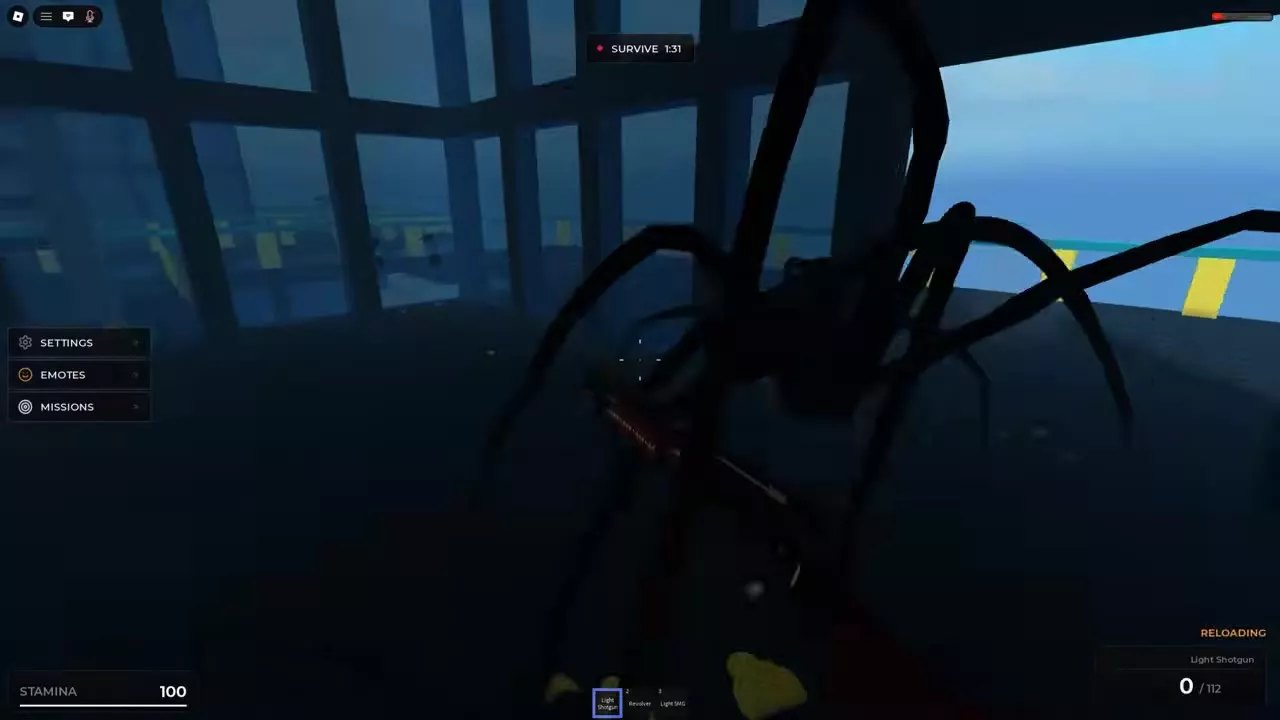
An empty shotgun can cost you the round in a cramped room. In a glass-walled room, a Crawler stayed at point-blank range after the Light Shotgun ran dry and killed the player before the reload finished. Start backing out while you still have room to move.
Reload space and Blackout discipline
Before you hold a door, corridor, or stairwell, check the loaded ammo on both guns and pick a route you can back through. If you’re with a teammate, have them cover the approach while you reload. Use the equipment slots and firing range guide to assign your setup, read loaded and reserve ammo, and practice swapping guns with TRY.
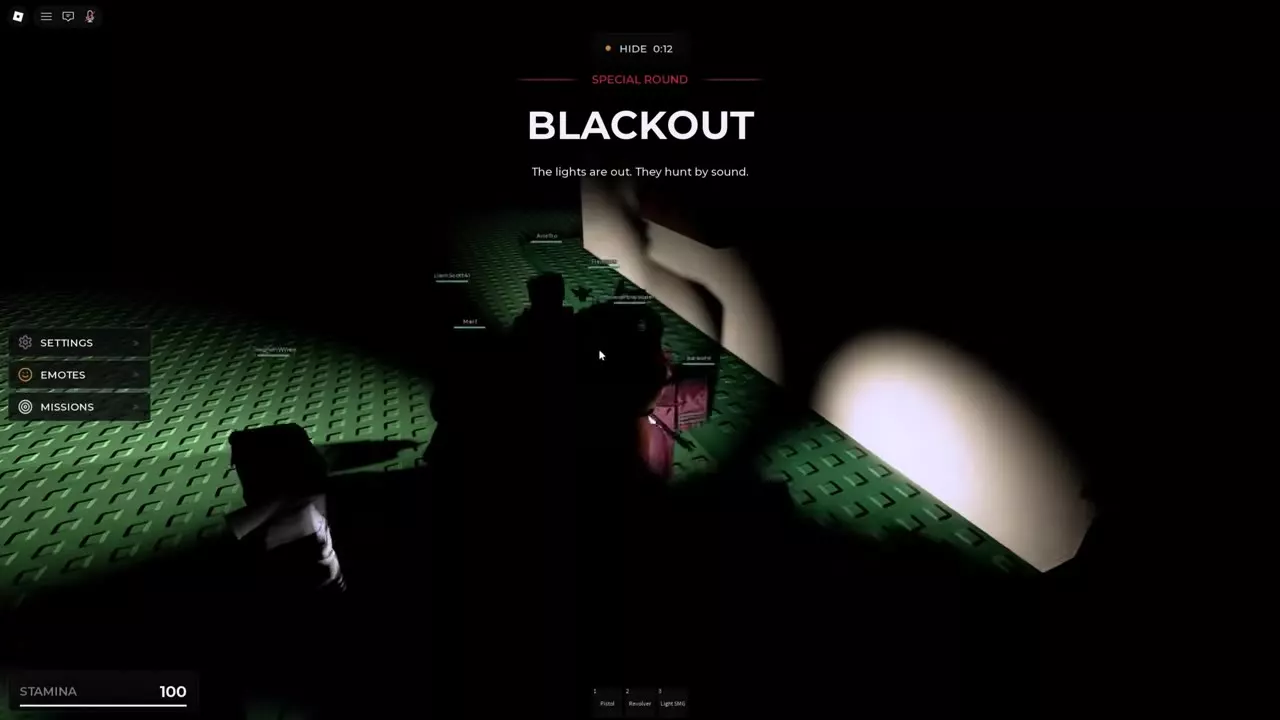
When the Blackout banner comes up, keep voice chat quiet while you hide. Crawlers hunt by sound, so hold your fire until you have an approaching threat to defend against. See special rounds for more on moving and hiding during Blackout.
Full stats and equipment controls
- Compare shop prices and weapon stats in the gun directory.
- Check damage, swing speed, and reach in the melee weapon directory.
- Look up gear prices, pack sizes, and armor in the gear and armor directory.
- Learn how to move items between hotbar slots in the equipment controls guide.