
Evil Crawling Things Survival Guide
Start with the free Pistol in Evil Crawling Things. A good opening position lets you see a Crawler coming and gives you somewhere to go if it closes in.
Stay alive until SURVIVE reaches zero. You can win a standard round with zero kills. Ready your Pistol and vote for a map, then use the 15-second HIDE phase to meet up and pick an exit. During the three-minute SURVIVE phase, take turns reloading, switch to a loaded backup if a Crawler closes in, and fall back together. If grabbed, use Space on keyboard or A on controller as prompted, then move out of reach.
Ready your equipment and vote for a map
Your goal is to be alive when SURVIVE runs out. The free Pistol is enough to start, and a zero-kill round still counts as a survival.
- Check the numbered hotbar in the lobby. If the Pistol is missing, open SHOP, select it under GUNS, and assign it to an available slot. If you own a second gun, give it a separate slot so you can switch during a chase. Assigning an item to an occupied slot replaces the item there, so check the bar before the round starts.
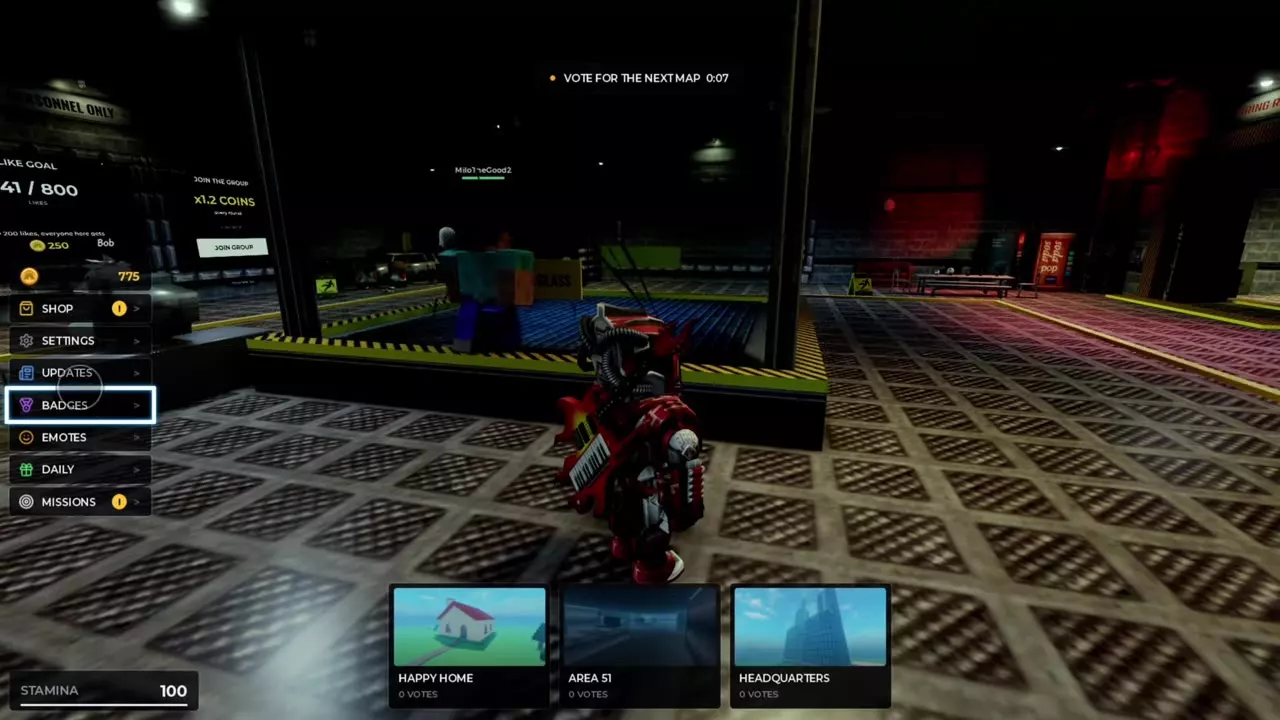
- After INTERMISSION, choose one of the three cards at the bottom of the screen under VOTE FOR THE NEXT MAP. Each card shows its current vote count, and the countdown is at the top.
- Wait for the countdown to end. The map with the most votes loads when there is a clear winner. LOADING MAP signals the transition into the round.
For more on replacing gear and checking ammunition, see equipment slots and reloading.
Use HIDE to regroup and choose an exit
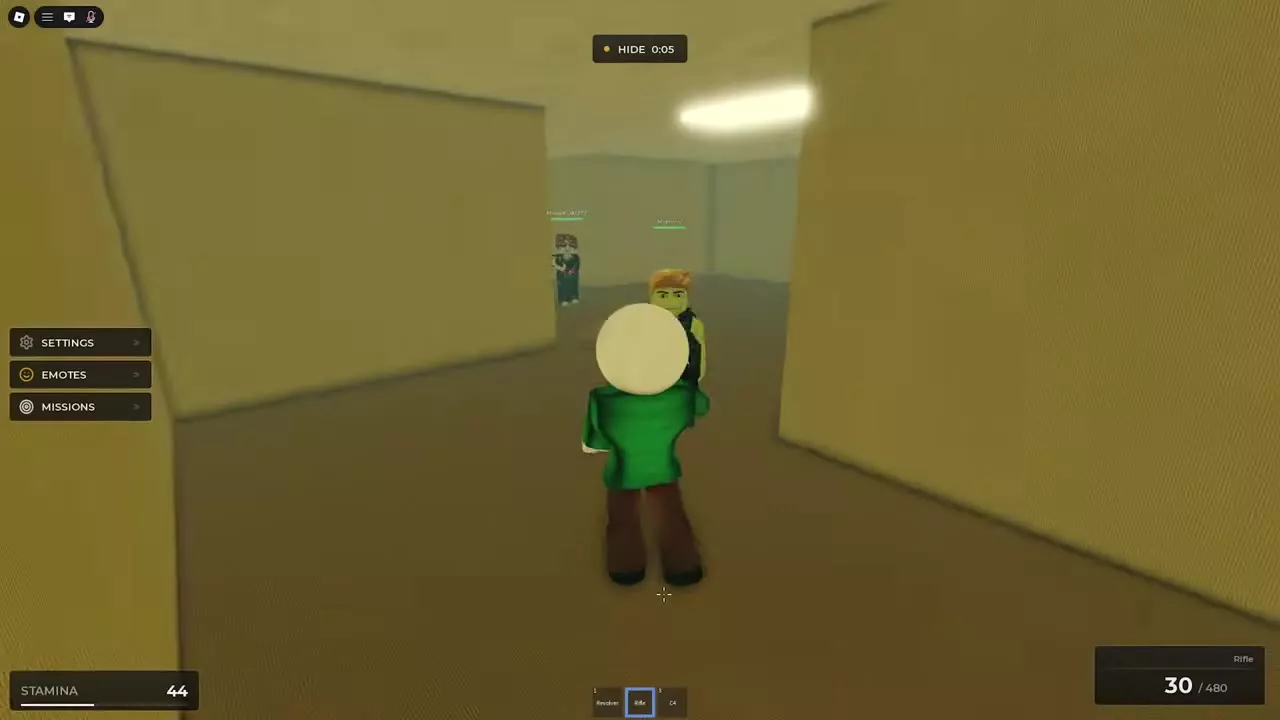
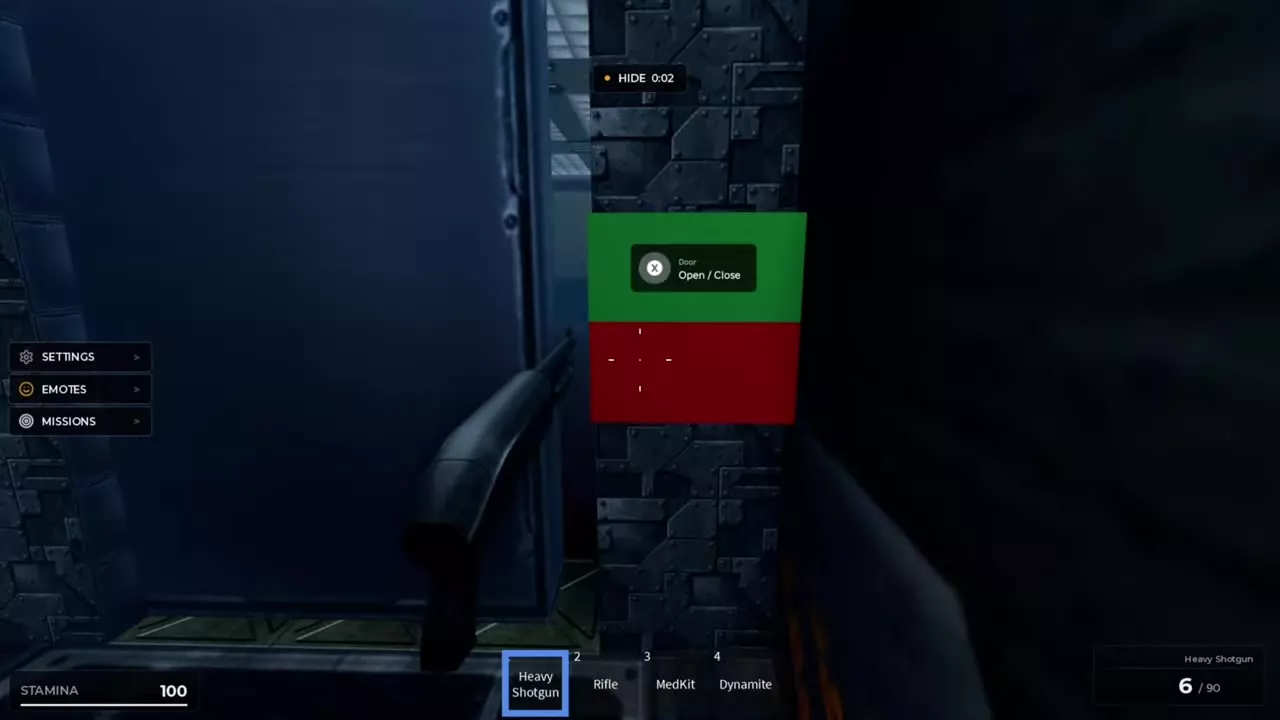
In a standard round, HIDE gives you 15 seconds. Select your gun from the hotbar as you move, meet up with nearby players, and pick two positions. From the first, you should be able to watch an approach. The second should be somewhere the group can reach through a door, up a stairway, or across a bridge. Save some stamina for that move.
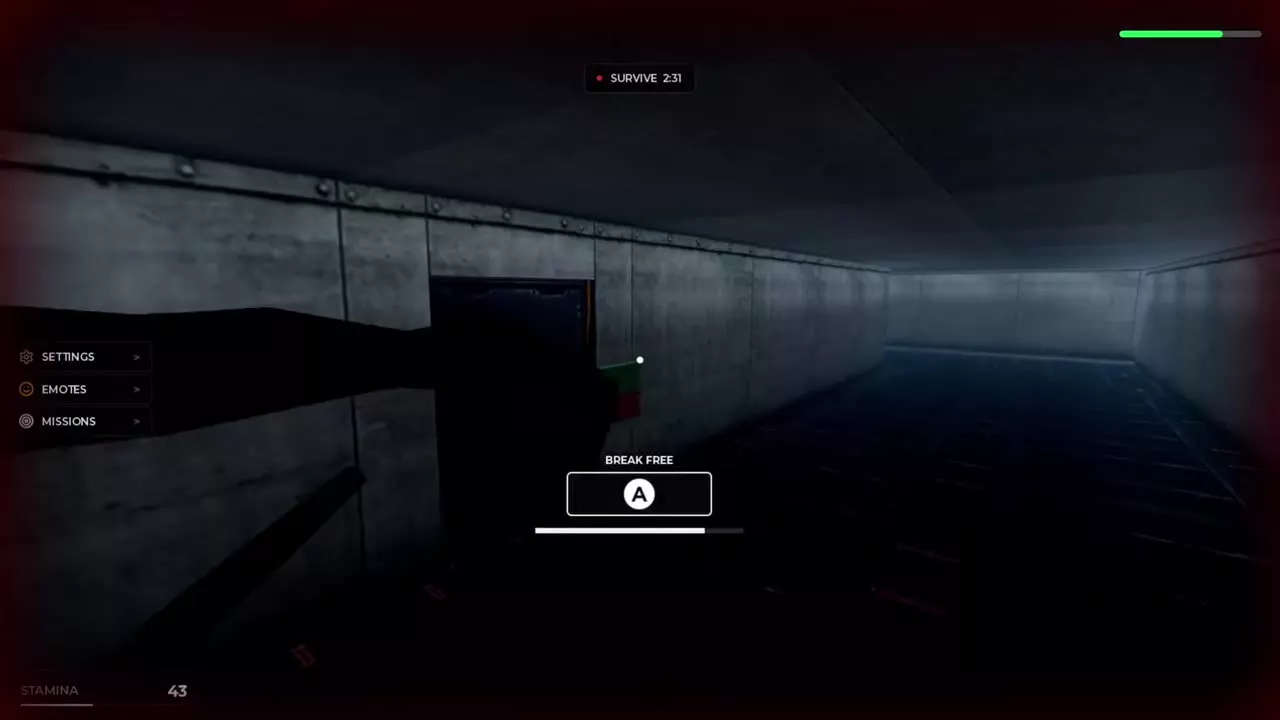
- Area 51. Follow a teammate through a panel door into a side room. Watch the corridor from inside with room to step back, and agree where to regroup if you have to leave the room. At the red-and-green panel, follow Open / Close using E on keyboard or X when the controller prompt shows it.
- The Backrooms. Meet at a junction between the yellow partitions. Check the corridor you came from, pick the next turn together, and wait for the group to catch up before going around a blind corner.
In BLACKOUT, the lights are already out during HIDE. Use the light you have to stay with the group through turns, and keep in-game voice chat quiet while hiding. Crawlers hunt by sound in this round and can hear in-game voice chat.
Stay alive through SURVIVE
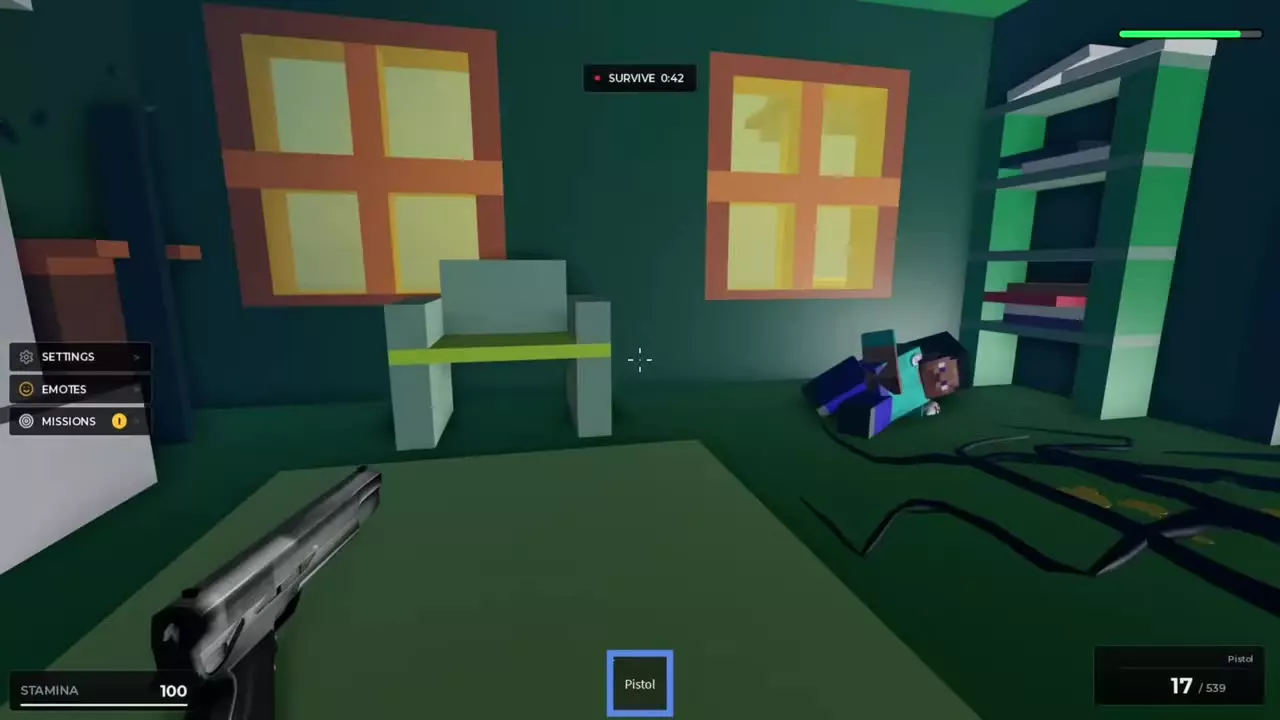
When SURVIVE 3:00 appears at the top of the screen in a standard round, watch the approaches to your position. Look for a dark, spider-like body with long, thin limbs. Crawlers can enter rooms and reach rooftops and tower tops, so keep an eye on access routes even if you’re above ground level.
- Stay hidden while the entrance is clear and you still have an exit. Late in the round, holding a quiet room with a teammate saves you an exposed crossing.
- Fight when a Crawler approaches and you have enough room to back away. Fire before it reaches grab range. A window or doorway gives you a view of the approach and space to back off if you stand inside the room.
- Move if a Crawler enters your position, approaches your exit, or gets too close for you to finish a reload. Head to the position you picked during HIDE while the way is still open.
The countdown keeps running after a Crawler goes down. Check your surroundings and the remaining time before moving on. If Survive a round is your active mission, finishing alive can complete it even with zero kills.
Cover teammates and retreat together
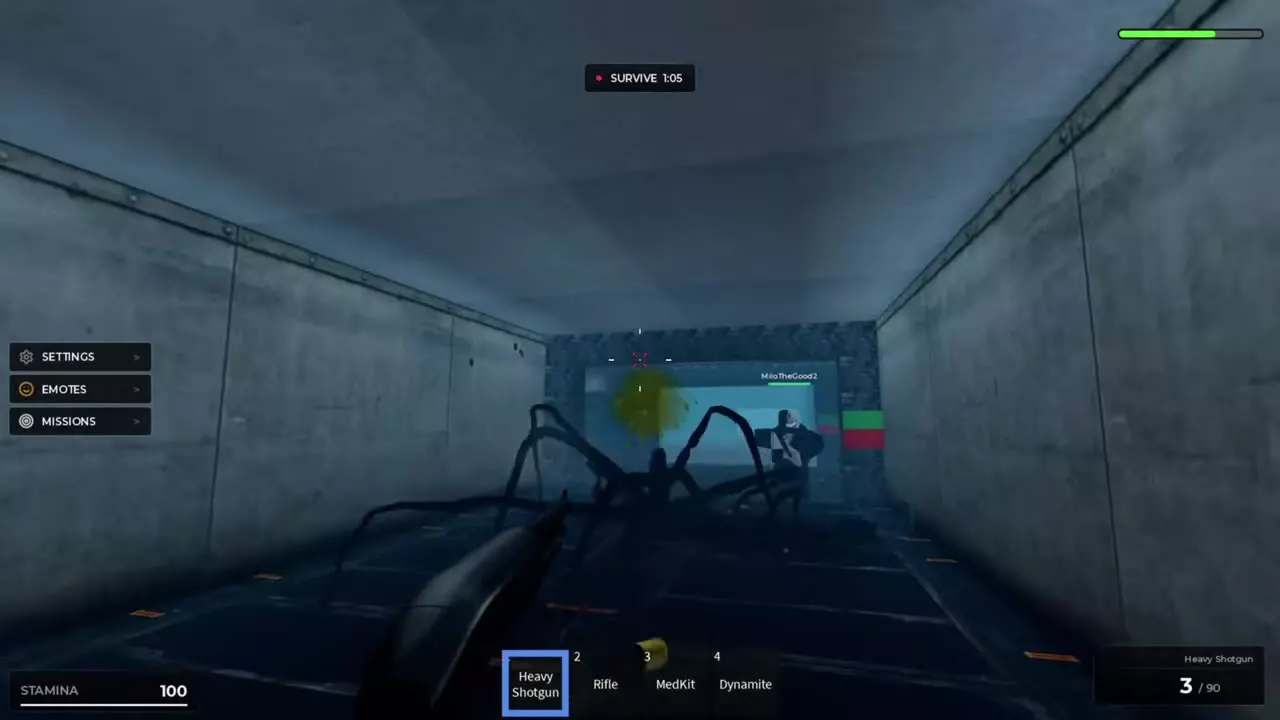
Focus fire on the same Crawler as it comes down a corridor. The starter Pistol can help bring it down. If Kill a crawler is your active mission, look for Mission complete to confirm your kill counted.
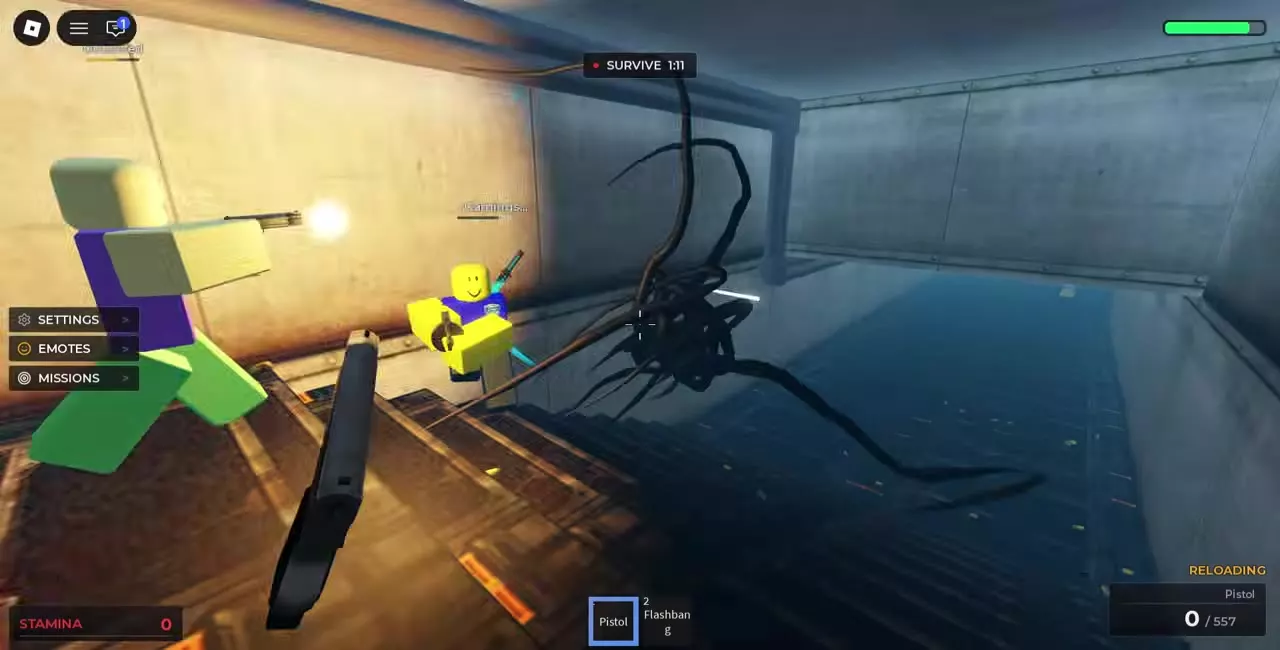
- Take turns reloading. Have one player keep a loaded gun on the approach while the other steps back to reload. In a Haunted Mansion stairwell, fire together as the Crawler approaches and leave the landing behind you clear so both players have room to back up.
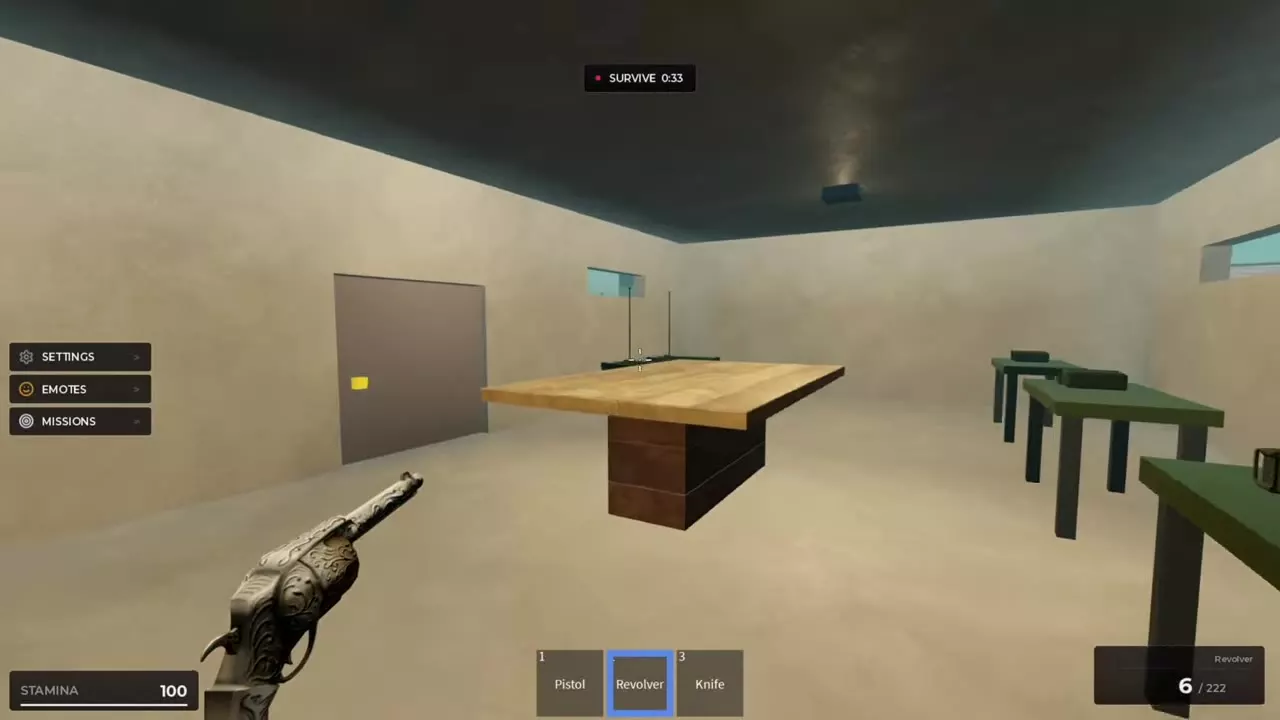
- Switch guns if the Crawler closes in. With a Pistol and Revolver, switch to the loaded Revolver if the Pistol runs dry, then fire as you back away. Reload once you have room and return to the Pistol when it’s ready. With a Rifle and Heavy Shotgun, use the Rifle down the corridor and switch to the loaded shotgun when the Crawler reaches the doorway or closes the distance. If you have a Flashbang equipped, use its stun to make space or resume firing.
- Fall back and regroup. Move through the next doorway while someone can still cover the passage. At Firebase, back into the room to finish reloading an empty Revolver instead of standing in the exposed doorway. If the Crawler follows you in, keep moving to the next position. Once you’re together again, check the passage behind you and the time left before taking another fight.
If a teammate is grabbed, cover the approach and keep their escape route clear while they use BREAK FREE.
Recover stamina before the next crossing
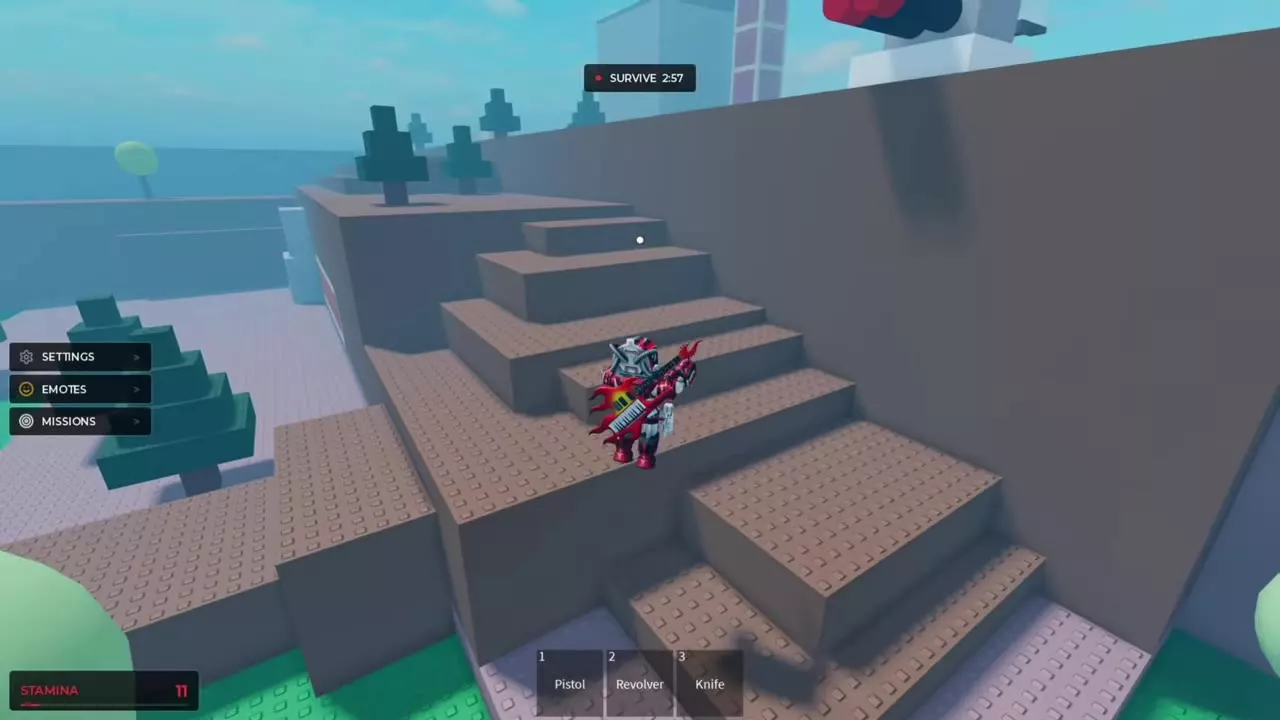
Check STAMINA in the lower-left corner. Sustained sprinting drains it, and the readout turns red when it’s low. You can still move at 0. Release sprint and pause where you have room to recover. On keyboard, Shift is the default sprint key.
On the exterior steps at Glass Houses, if you run the meter down on the approach and stall at a jump, pause at the base and let stamina come back before you continue up the ledges. Give yourself time to recover after a long run, especially if the next part of your route needs a sprint past a Crawler or several jumps in a row.
Break free and move out of reach
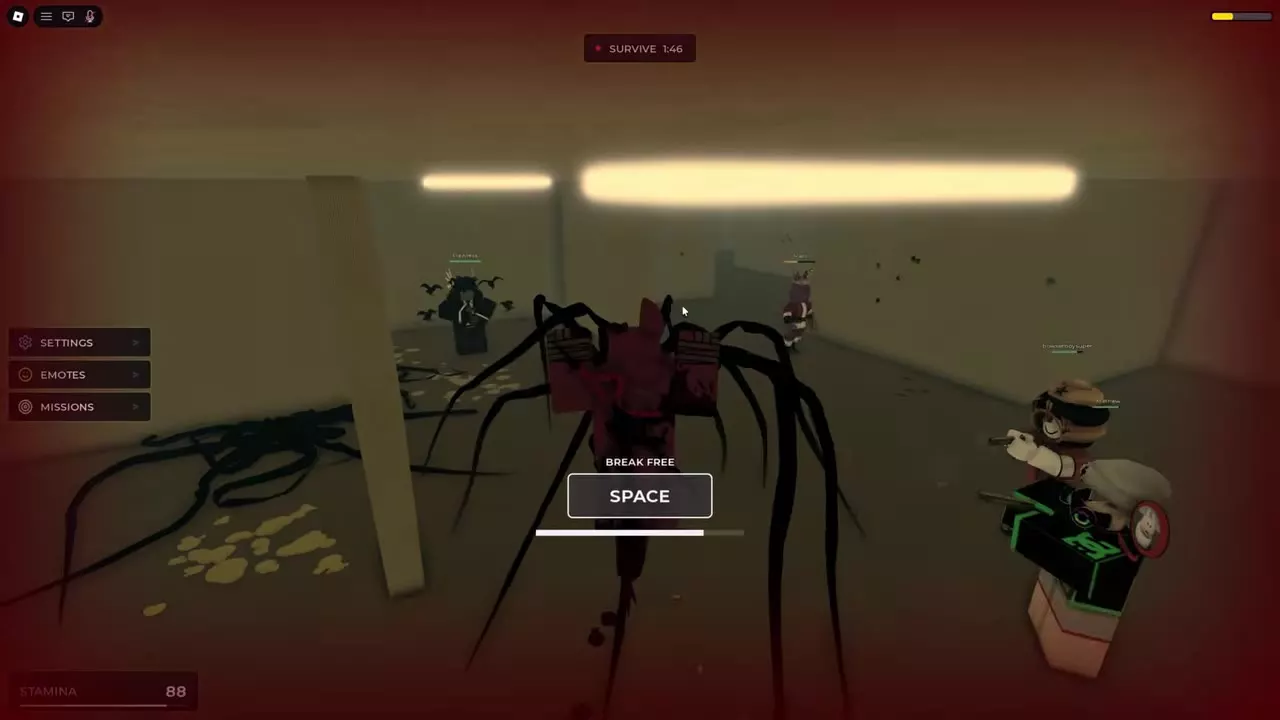
- When a Crawler grabs you, look for BREAK FREE, the input prompt, and the progress bar. Use Space on keyboard or A on controller when shown. Follow the displayed input until the bar fills and the prompt clears.
- Move away as soon as you regain control. A Crawler still within reach can grab you again. If it follows, keep backing away with a loaded gun ready.
- Check your health once you have space. A red screen edge and a shrinking health bar indicate damage during the grab. If you have a MedKit equipped, use it once you’re clear. See MedKit and supply controls for gear use.
If Break free from a grab is active, a successful escape completes the mission. In Juggernaut, only the player named in the opening banner is immune to grabs. Everyone else uses the same BREAK FREE prompt when caught.
Read your result and spectate after death
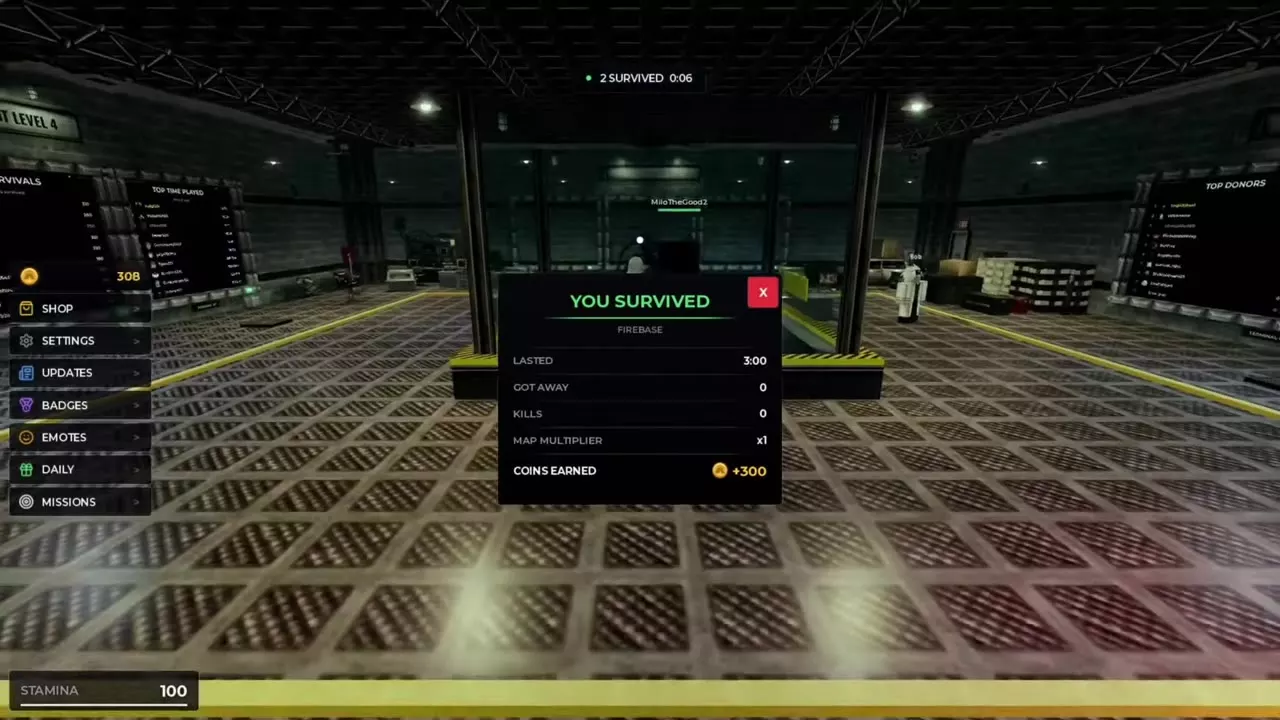
The results panel reports your own outcome, YOU SURVIVED or YOU DIED. The top banner reports the server’s survivor count. For example, a Firebase clear can show YOU SURVIVED, LASTED 3:00, and KILLS 0 on your panel while the top banner reads 2 SURVIVED. If everyone is eliminated, the round ends with THE CRAWLERS GOT EVERYONE, followed by INTERMISSION.
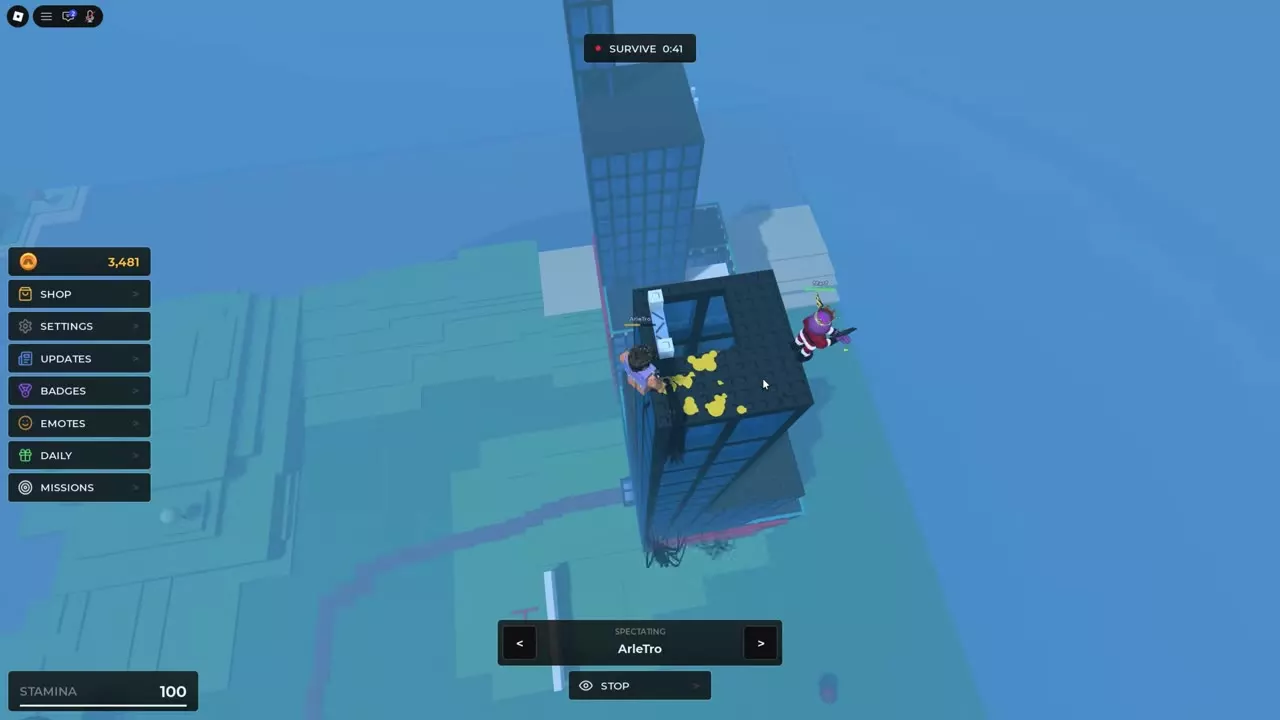
- If you die while others are still playing, close YOU DIED in the lobby and select SPECTATE at the bottom of the screen.
- Read the player name in the SPECTATING bar. Use the left and right arrows to switch players, including when the player you’re following dies and someone else is still alive.
- Select STOP to return to the lobby view. Your personal result stays YOU DIED even if the player you watched survives.
Maps, loadouts and round rewards
- Find landmarks and map-specific routes in the map directory.
- Compare rooms, towers, and fallback positions in hiding spots and escape routes.
- Pick an opening gun and a backup for your budget in gun choices and loadouts.
- Adjust your plan for Blackout, Swarm, Larry, or Juggernaut in special rounds.
- Read your personal payout and learn how multipliers stack in round Coins and boosts.